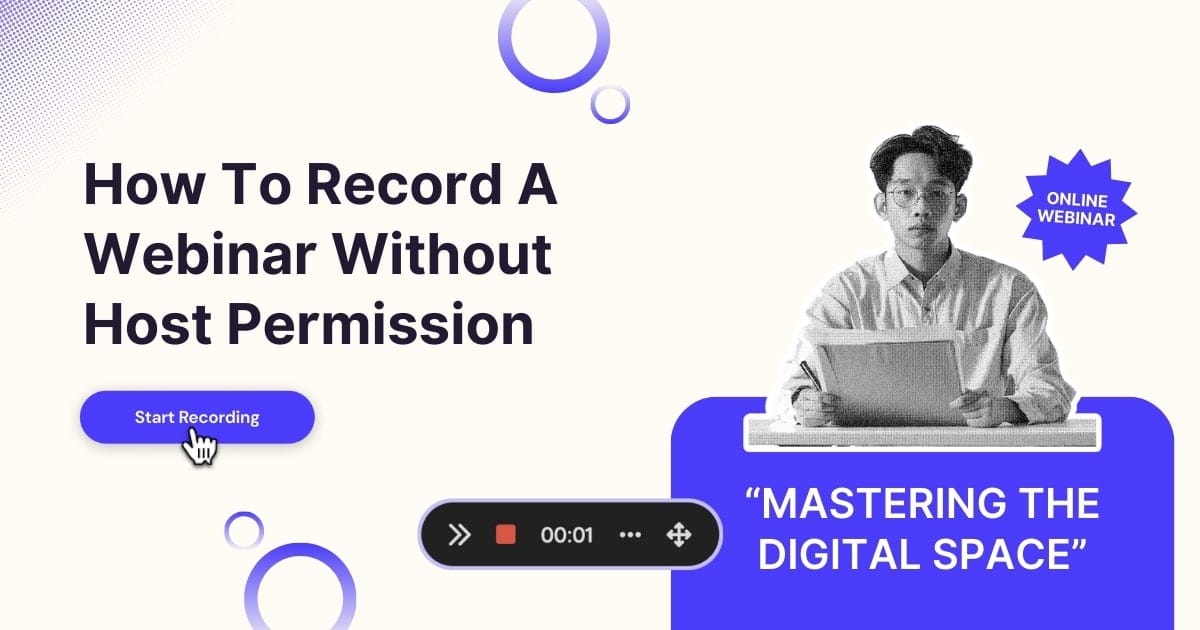
How can I record a webinar is not something you think about every day but the one time you need, it becomes crucial than ever.
Picture this: You’re deeply engaged in a webinar when your coffee mug tips over. The frantic cleanup takes seconds, but when you return, you’ve missed a crucial point the speaker just made. Instinctively, you reach for the back arrow key or try dragging the timeline backward like you would on YouTube.
Then reality hits. This is a live webinar—there’s no rewind button.
The second realization stings even more: you’re not the host, which means no recording privileges. That brilliant insight or key statistic? Gone forever.
Sounds relevant?
While you can’t control coffee spills or other distractions, you can take control of your webinar experience. What if you could record any webinar session, even without host permissions?
That’s where Dadan Screen Recorder comes in—a powerful cross-platform solution that works on Mac, Windows, and Chromebook. This blog will walk you through exactly how to capture every moment of your next webinar, so you never miss important content again.
What is dadan screen recorder?
Dadan is an advanced screen recorder that can record your screen, webcam, voice, and PC audio at the same time. It works seamlessly with Mac, Windows, Chromebook systems, so you don’t have to worry about compatibility.
The built-in video editor has useful features like trimming to remove unwanted sections, blur and zoom effects to hide or enhance certain sections. It also has the subtitles feature which automatically adds captions to recordings. If the webinar audio is unclear or you’re having a difficulty following what the speaker is saying, this could be a lifesaver.
Videos get recorded in 720P, (in 4K with the Professional plan), and you can host all your recordings in dadan. Secure sharing options like password-protected links and expiration dates ensure that you can share the videos internally without taking big risks.
How to record a webinar on Windows or Mac PC with dadan?
Here are the exact steps to follow to start recording webinars on your PC for free. This section is for Windows and Mac users, if you use Chromebook, feel free to scroll to the next section.
- Head over to the Dadan Website to download the Mac or Windows application
- Once the installation is complete, the app will open on your screen automatically
- Sign up using your email address
- Choose the recording mode, screen or webcam and screen. If you choose the latter, then your face will also be recorded with the webinar
- In the next step, select the recording area. Select Entire Screen to record multiple windows. Likewise, choose the Window option to record a single window, or the Custom Size option to record customized area. We suggest choosing the Window option, so the screen recorder only records the window where the webinar is running.
- Click Start Recording to start recording the video
- Tap on Stop on the floating toolbar to stop the recording once the webinar is over
- Click on the pencil icon to start editing the video in Dadan video editor
How to record a webinar on Chromebook with dadan?
If you’re a Chromebook user, dadan’s Chrome extension could be the perfect tool to start recording webinars. No download required, you only need to install the extension, which is available for free. Follow the steps below to get started.
- Visit the Chrome Web Store
- Search for Dadan in the search bar
- Once the Dadan app appears on the screen, click on the Add to Chrome button
- The application will get installed automatically and appear on your browser toolbar

- Pin the Dadan app, so that it is always visible and you can switch it on easily every time you attend a webinar

- Click on the app to sign up using your email address

- Give permission for camera access and microphone access. Click Allow while visiting the website or Allow this time to grant access to camera and microphone

- Once you grant the permission, you are all set to record your first webinar with dadan
- In the next step, choose the recording mode: Screen, Webcam or Screen + Webcam. Go with the Screen mode if you only want to record the screen and don’t need webcam recording
- The audio recording is on by default; it automatically records your voice and internal audio when you hit the record button. Tap on it if you want to mute it.
- Click on the Start Recording button, Dadan will ask you to choose the recording area: Entire screen, Window, or a Chrome Tab. The Entire screen mode records everything that goes on in the screen. For example, you switch to a different window to check your email inbox, that gets recorded too. Similarly, the Window option records all the tabs open in the window. When you select the Chrome Tab option, only the tab where the webinar is running gets recorded.
Follow this Dadan Chrome extension link to install and start using it.
What’s next?
That was a quick guide on how you can start recording webinars without the host’s permission. dadan is easy to use, practical, and has all the necessary features to be a great communication tool at work. Recording webinar is only one of the use cases, you can use it to share video feedback, communicate with customers and partners with more clarity, and create tutorials.
If dadan caught your attention, we recommend giving it a try by signing up now.
Recommended Readings:
- How to Record Skype Calls on Windows and Mac for Free
- How to Record GoToMeeting as Attendee Without Permission
- How to Record a Zoom Meeting as a Participant – 4 Easy Ways
- How To Record Google Meet Meetings Without Premium
- How to Write Minutes of Meeting Easily
- How to Record a Microsoft Teams Meeting in Simple Steps