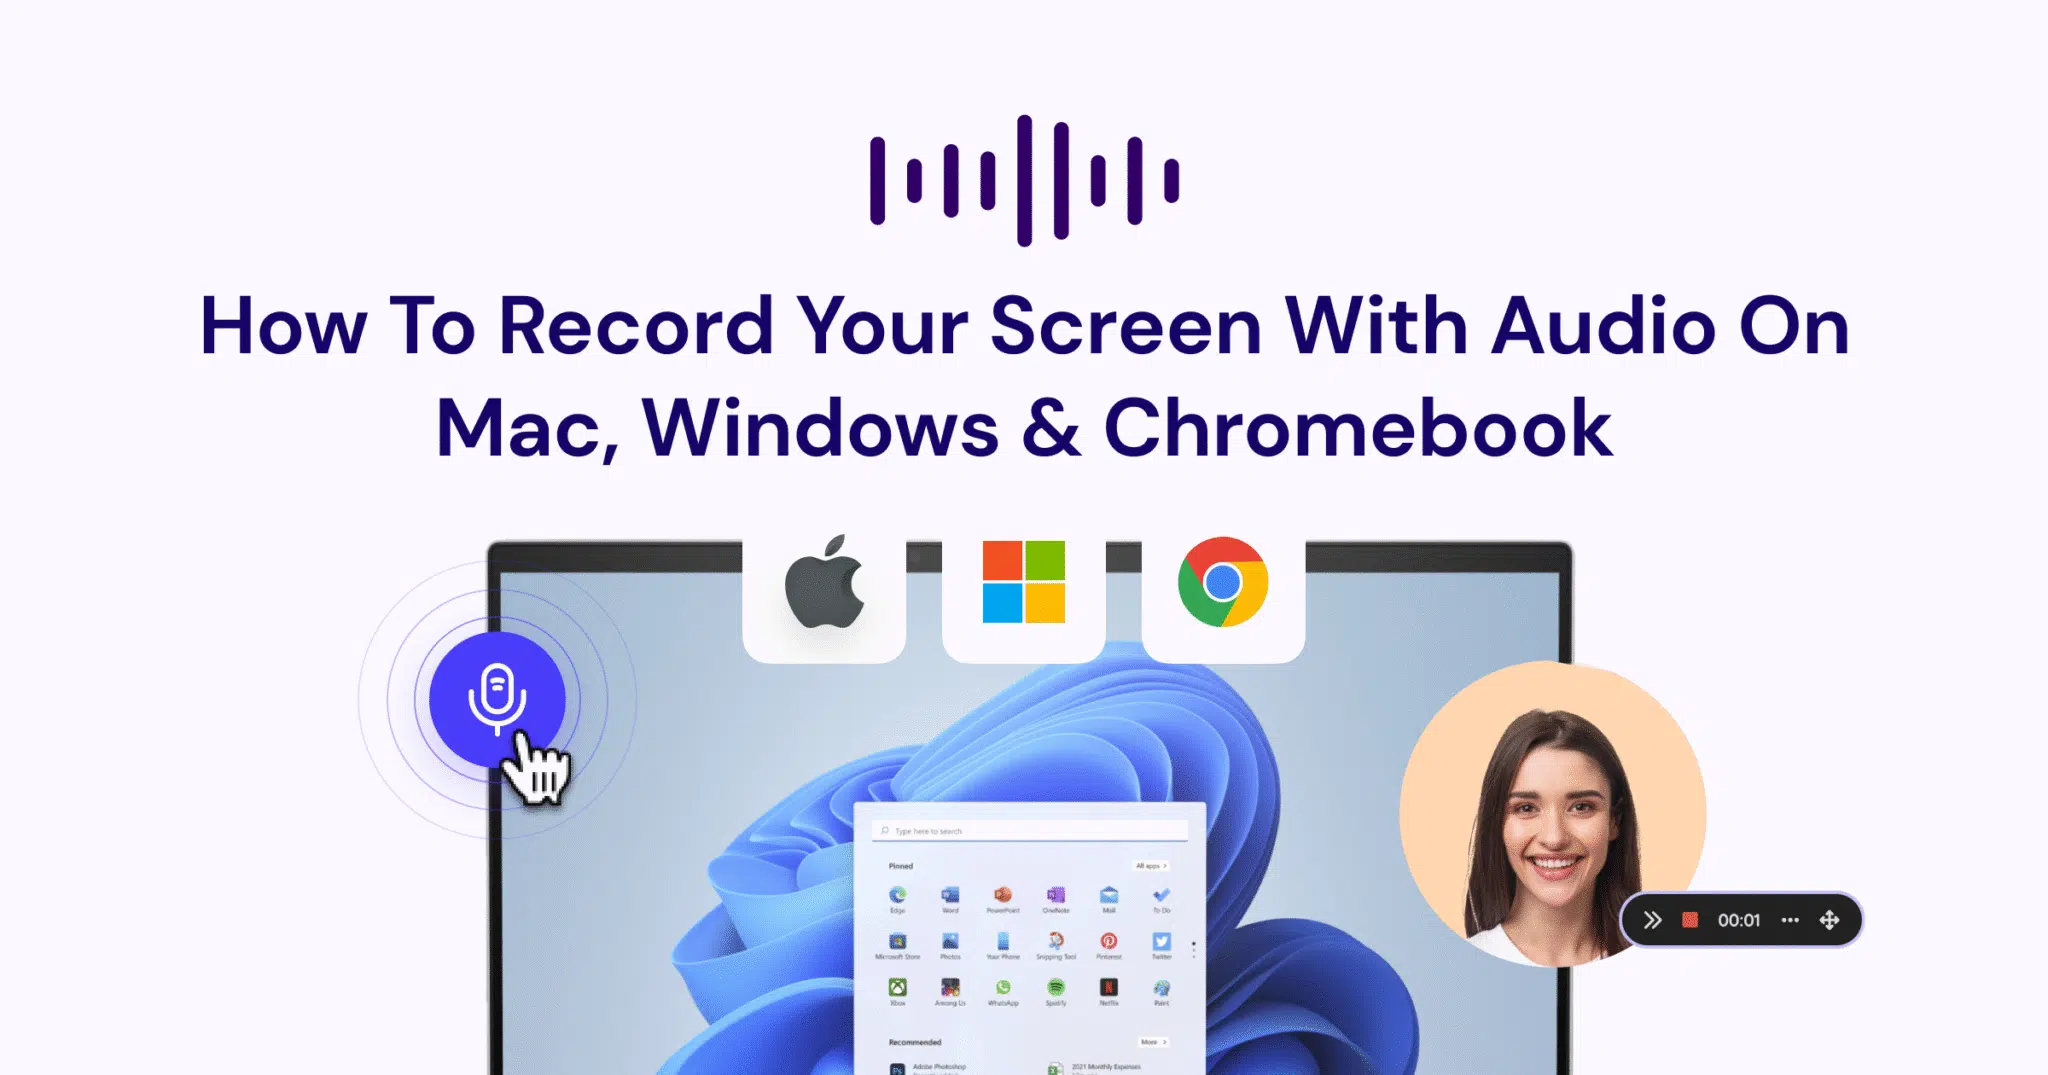
Screen recording with audio is easier than you think, but the steps depend on your operating system. Whether you’re on Mac, Windows, or Chromebook, knowing the right steps saves time and hassle.
This guide will walk you through the exact steps for recording on the best free screen recorders for each platform. It will also share essential tips and help you avoid common pitfalls. By the end, you’ll be ready to record professional-quality videos in no time, no matter your OS.
Why Recording with Audio Matters
Why record a video with audio? Here’s why:
- Better communication: Audio lets you explain steps, highlight details, and clarify instructions
- Improved engagement: Viewers are more likely to stay focused when they hear a voice guiding them through the process.
- Professional touch: Narrated recordings look polished, especially for tutorials, demos, and training.
- Efficient troubleshooting: Support teams and developers can quickly show and explain problems with both visuals and audio.
- Reusable content: Audio-recorded videos can be shared, reused, and referenced anytime.
- Personalized feedback: Teachers and managers can give more helpful, tailored feedback with voiceover narration
Best Free Screen Recorders for All Platforms
There are many free screen recorders available for your operating system. If you need a head start, here’s a quick table to help you choose the right tool for your needs.
| OS | Best Free Screen Recorder |
| Mac | Dadan Mac app QuickTime Player |
| Windows | Xbox GameBar Loom |
| Chromebook | Dadan Chrome extension |
(i) How to Record Screen with Internal Audio on Mac
Let’s start with Mac. If you are a Windows or Chromebook user, feel free to scroll to the next part.
There are two screen recorders to record your screen with audio for free:
- QuickTime Player, which is a built-in screen recorder,
- dadan, an advanced screen recorder.
1. Screen Recording with Internal Audio on Mac using QuickTime Player

Step 1: Open QuickTime Player in your Applications folder
Step 2: Click on “File” in the top menu bar and select “New Movie Recording” from the dropdown menu.
Step 3: In the next step, select the area you want to record
Step 4: Click on the Options tab and tap on the microphone to record audio. If you have an external microphone plugged in, then you must choose between that and the built-in mic before you start recording
Step 5: Click on the record button to start recording, and click on it again to stop the recording
To save your recording, go to File, then Save in the menu bar. Assign a filename, select your preferred save location, and click the Save button to complete the process.
Why might QuickTime Player not be the best choice?
QuickTime Player is free and gets the job done. But, you must know that it cannot record internal audio on its own. If you want to record an audio file saved in your PC, and it must sync with your voice and the screen recording, then that’s not going to happen. You must use an external editing software.
2. Screen recording with Internal Audio on Mac using dadan
dadan is an advanced screen recorder. It records the screen, webcam, your voice and internal audio at the same time. It also comes with a powerful editor that helps you trim the audio, remove unwanted noises, and crop or zoom areas in the recording. In addition to the above features, you can also add subtitles, create chapters, and add video interactions using the dadan’s AI assist.
Follow the steps below to make screen recording videos with internal audio using dadan on your Mac:
Step 1: Head over to the dadan Website to download the Mac application

Step 2: After the installation is complete, the app will open on your screen automatically. Sign up using your email address – no credit card information required

Step 3: Choose the recording mode, screen, webcam or screen + webcam. On the Dadan Mac app, use Command + Shift + 2 to launch Snap Record instantly.

In the next step, select the recording area. Select Entire Screen to record multiple windows. Likewise, choose the Window option to record a single window, or the Custom Size option to record a customized area

Step 4: Choose your microphone to record your voice

Step 5: Click Start Recording to start recording the video. Tap on Stop on the floating toolbar to stop the recording

Worth giving dadan a shot? Sign up for free and get started.
(ii) How to Record Screen with Internal Audio on Windows
Here are two screen recorders to start recording on Windows for free:
- Xbox Game Bar, built-in Windows screen recorder
- Loom, an advanced screen recorder for Windows PC
1. Screen Recording with Internal Audio on Windows using Xbox GameBar

Step 1: Press Windows key + G to open the Xbox Game Bar overlay on your screen.

Step 2: Click the record button (circle icon) or press Windows key + Alt + R to begin recording
Step 3: Game Bar will start recording whatever is on your screen, along with the audio
Step 4: Click the stop button (square icon) or press Windows key + Alt + R again to end your recording.
Step 5: Game Bar saves videos to the Videos –> Captures folder, from where you can access the recording
Why might the Xbox GameBar not be the best choice?
Game Bar was primarily designed for capturing gameplay, not professional content. The interface and features prioritize gaming scenarios rather than business or educational needs
2. Screen Recording with Internal Audio on Windows using Loom
Loom is a versatile and advanced screen recorder for Windows. It offers high-quality recordings in up to 4K resolution. It captures your screen, camera, and microphone simultaneously, which makes it ideal for tutorials, presentations, and feedback. With its quick setup, easy editing tools, instant sharing features, and AI-powered options like automatic transcription, Loom simplifies creating professional videos.
Here are the steps to record your screen with internal audio on Mac or Windows using Loom.
Step 1: Sign up to create your free account on Loom

Step 2: Download the Loom Windows desktop app

Step 3: Choose what type of video you want to create

Step 4: Adjust visual and audio settings
Step 5: Click on the Record button to start recording. When you’re done, tap on the Stop button. Your video will be uploaded to your content library automatically
(iii) How to Record Screen with Internal Audio on Chromebook
Like Windows and Mac PC, Chromebook can also be used to screen record videos with audio. If you are a Chromebook user, you can use the dadan free Chrome extension to start recording professional videos
Screen Recording on Chromebook with Dadan
Step 1: Visit the Chrome Web Store and search for dadan in the search bar. Follow this dadan Chrome extension link to install the app and start using it.

Step 2: Once the dadan app appears on the screen, you will find a blue button with Add to Chrome written over it. Tap on it, and then click on Add Extension in the pop-up window
Step 3: The application will get installed automatically and appear on your browser toolbar. Pin the dadan app, so that it is easily accessible

Step 4: Click on the app to sign up using your email address

Step 5: You will see two pop-ups appear on your screen. One asking permission for camera access and the other for microphone access. Click Allow while visiting the website or Allow this time to grant access to camera and microphone

Once you grant the permission, you are ready to record your first video with dadan
Step 6: In the next step, choose the recording mode: Screen, Webcam or Screen + Webcam

The audio recording is on by default; it automatically records your voice and internal audio when you hit the record button
Step 7: Click on the Start Recording button, dadan will ask you to choose the recording area: Entire screen, Window, or a Chrome Tab. Once you select that, the recording begins after a short countdown.

Let us help you get started with dadan.
Comparing Built-in vs. Extension-Based Recorders
Built-in and external screen recorders each have their strengths. Here’s a quick comparison to help you decide which suits your needs best
| Feature | Built-in Recorder | External Recorder |
| Ease of Use | Simple, no install needed | Requires installation or downloads |
| Audio Quality | May only be able to capture microphone audio, but not internal audio | Can capture internal audio + mic audio in sync with the screen recording |
| Editing Tools | Very limited editing features | Advanced editing features |
| Customization | Few options | High flexibility to customize the video based on your preference |
| Professional Output | Suitable for quick tasks | Better for polished, professional videos like tutorials, video presentations, training videos, and content creation |
Tips for Better Screen Recordings
Before we conclude this blog post, we want to share a few screen recording tips and practices that will help you in the long term:
- Plan Your Content
Outline your main points or create a simple script before you start recording to keep your video focused and avoid rambling
- Keep Recordings Concise
Decide on the ideal length for your video and stick to it. Shorter, focused videos are more engaging and easier to follow
- Clean Up Your Desktop
Remove unnecessary icons, files, and notifications from your screen to keep the recording professional and distraction-free
- Check Your Audio Setup
Test your microphone and minimize background noise
- Highlight Important Actions
Use cursor highlighting, annotations, or zoom features to draw attention to key parts of your screen, especially when demonstrating small details
- Edit Ruthlessly
Trim out mistakes, unnecessary pauses, and interruptions to keep your video smooth and professional
- Use Subtitles or Captions
Adding captions can make your content more accessible and help reinforce key points
- Protect Your Privacy
Blur or crop out any sensitive information that might appear on your screen during recording
- Practice Before Recording
Do a quick test run to ensure everything works as expected and you’re comfortable with your material
- Add a Clear Call to Action
End your video with a simple, direct instruction or the next step for your viewers
Common Issues & Quick Fixes
Here’s a list of common screen recording issues and quick fixes, relevant for Mac, Windows, and Chromebook:
- No audio in recording: Check that your microphone and system audio are enabled in the screen recorder settings, and grant necessary permissions in your OS.
- Recording not starting or freezing: Restart your device, close unnecessary apps, and ensure your screen recorder and OS are updated.
- Low video quality or lag: Free up storage, lower recording resolution, and close other resource-heavy applications.
- Permission errors: Allow screen recording and microphone access in your OS privacy or security settings.
- Sync or lag issues: Update your graphics and audio drivers, and avoid running too many apps at once.
Ready to screen record video on your Mac, Windows or Chromebook PC?
We hope you found this blog post useful to start creating screen recording videos on your computer. Built-in screen recorders are great to get started, but that’s about it. The lack of advanced features like screen annotations and robust editing options doesn’t make them a durable option for screen recording videos.
dadan is a cost-effective alternative to built-in screen recorders and provides the same level of user-friendliness. It comes with a free plan and a 14-day free trial with access to all its features.
We suggest taking advantage of this free trial to explore the full potential of the platform.
Deal? Sign up here
FAQs
Can I record my screen with internal audio on a laptop
Yes, you can record the screen with internal audio on your laptop. On Windows and Chromebook, use built-in tools or trusted third-party apps. On Mac, you may need a compatible screen recorder for full system audio capture
What’s the best free screen recorder that captures both screen and sound?
There are many free screen recorders that can capture both screen and sound. Popular options include dadan, OBS Studio, ScreenPal, and Loom. These support system and microphone audio on Windows, Mac, and Chromebook.
How do I record my screen and voice at the same time?
Enable both system and microphone audio in your screen recorder settings. Most tools have options to toggle both sources before you start recording
Why is my screen recording not capturing any sound?
Check your audio settings in the recorder and your OS. Ensure permissions are granted, and both microphone and system audio are enabled. Sometimes, outdated drivers or muted devices can cause issues.
Why doesn’t QuickTime Player record internal audio on Mac?
QuickTime Player only records microphone audio by default. For system audio, use a third-party tool that supports internal sound capture on Mac.
Why does Chrome’s built-in screen recorder not capture meeting audio?
Chrome’s recorder often only captures microphone audio, not system sound. For full meeting audio, use a compatible extension or a dedicated screen recording app.
How can I reduce background noise while recording screen audio?
Use a quality microphone, record in a quiet environment, and enable noise reduction if your recorder supports it. Some advanced screen recorders offer built-in noise suppression.
What’s the difference between system sound and microphone audio in recordings?
System sound is audio from your device (music, apps, notifications), while microphone audio is what your mic picks up (your voice, room noise).