Online learning is undergoing a serious boom.
The eLearning industry grew by 900% between 2000 and 2020, while the online education market is expected to exceed $185 billion in 2025. With such tremendous growth, high-quality video content is becoming increasingly essential to help improve student learning outcomes and deliver an excellent educational experience.
This comprehensive guide covers everything you need to record online course videos and educational content, from video software for education recommendations to equipment requirements and tips from top experts.
At the end of this video, you’ll know how to:
- Set up an effective recording environment
- Create outstanding, engaging educational content
- Get the most from your course creation process
How to record online course videos – Step-by-Step
Now you’ve got everything set to go, it’s time to begin the recording process. Here’s a step-by-step guide to recording high-quality online course videos.
Step 1: Plan your content
Planning your content is critical to ensuring your video records are smooth and keeping your content engaging and on message. Here are some tips to help you navigate the planning process:
Outline key points
Begin by creating a bullet-point list of the main topics you want to cover and any subtopics that help provide additional context. Organize the content logically and estimate how long each section will take to explain. Then, highlight any topics or areas that need visual aids, demonstrations, or annotations when editing.
Write a script
Once you know what you want to cover, writing a script helps you order your thoughts and get your points across. Keep your language naturally conversational and engaging, using simple words and sentence structures for clarity. When you’re transitioning between critical points, include short pauses. Finally, rehearse your script aloud to ensure it flows and sounds natural.
Visual aids
Creating cue cards and visual prompts are excellent tools for helping your content flow naturally. If you’re using a teleprompter, ensure this is near the camera to maintain eye contact with your audience. Alternatively, create easy-to-read cue cards placed near the camera and rehearse with your prompts to keep your tone conversational.
Step 2: Test your equipment
Test your equipment before you begin recording to ensure everything’s working as it should be. These tests allow you to check your audio and video quality and adjust your lighting and camera setup as required.
Things to look out for include:
- Background noise or audio echoes
- Any shadow on your face
- Your camera recording at eye level
- You’re framed from the chest up, with some headroom at the top of the frame
Step 3: Record in segments
Recording your content can be a long and intensive exercise. Break your content into short, manageable segments to avoid fatigue and film each separately.
Begin each section with a brief one-sentence overview and end them with a summary of what you’ve just covered, and take short breaks between recordings to help maintain energy levels.
Keeping your energy levels consistent helps you deliver professional-looking content. Drink plenty of fluids to remain hydrated, prevent your mouth from drying up, and ensure you use consistent, positive body language and facial expressions.
Finally, vary your tone and pace to engage your audience rather than delivering your content in a one-paced monotone.
Step 4: Record supporting content
Recording additional content is an excellent way of breaking up your video with different visuals, helping your audience remain focused on your topic, and offering greater detail and context.
For example, you can implement footage from screen recording tools for any on-screen web videos or software demonstrations, film close-ups of experiments, or hands-on demos. In addition, creating animations and graphics can help explain and illustrate complicated topics.

You can then incorporate this additional footage into your main content during editing to create a holistic, well-rounded educational video.
Why video quality matters for your online courses
Producing high-quality videos is critical to the success of your online course material. As well as helping students achieve their outcomes and improving learning outcomes, they can increase student engagement, retention, and the course’s popularity.
As a result, creating clear, visually appealing, and easy-to-follow videos matters to keep learners focused and help them absorb the information.
Benefits of professional-quality videos
Let’s examine the benefits of high-quality videos in the educational environment.
1. Improved learning outcomes
Video content can lead to better student learning outcomes thanks to the clear visuals, audio, and additional context offered by on-screen annotations. These all contribute to helping students grasp complex topics and retain essential information, leading to higher success rates and learner satisfaction.
2. Professional branding
The quality of your course material reflects on your brand as an educational content creator. The better professional-looking videos you create, the better you demonstrate your commitment to establishing yourself as an expert in your field. This can help you grow your reputation and increase course sales.
3. Improved completion rates
Creating high-quality and engaging videos also leads to higher course completion rates. Visually appealing content helps students remain engaged and easy to follow, helping them stay motivated and eager to complete the course. In addition, students will act as advocates for your course through positive reviews and word-of-mouth recommendations.
Essential equipment for recording online course videos
You can only record good-quality online videos for your educational courses if you have the right equipment. Here are some examples of the best equipment for recording online course videos.
1. Cameras
Whether you’re a beginner or a more established content creator, finding the right camera is essential to producing good-quality video content, especially if you’re on a tight budget.
You’ll probably be faced with a choice between using your smartphone or investing in a DSLR or mirrorless camera. But which is better?
2. Smartphones
Today’s smartphones have powerful cameras that produce excellent video quality, making them the ideal option for beginners and creators on a tight budget. Among the several benefits they offer are:
- Convenience
- Portability
- Built-in editing apps
- Easy sharing and uploading
While ideal for more basic content creation, smartphones can struggle in low-light conditions and lack the versatility of multi-lens recording equipment.
3. DSLR/Mirrorless Camera
Investing in a DSLR camera like the Canon EOS Rebel T7i or a mirrorless camera like the Sony Alpha a6400 is more expensive than using your smartphone but offers you greater versatility in shooting content.
For example, benefits include:
- Better image quality in low-light conditions
- Interchangeable lenses for different scenarios
- More professional setup
Although smartphones can cater to many conditions, purchasing affordable video recording equipment can offer greater image quality and control over your content, elevating it to new levels.
4. Microphones
Audio quality matters at least as much as image quality for online courses, as you’re combining words with pictures to engage your students. Poor audio quality will disengage viewers regardless of how impressive your content looks visually.
Investing in an external microphone, such as a lapel microphone or condenser microphone if you’re recording from a desk, rather than relying on your camera to pick up the audio, helps reduce background noise and improve the overall sound of your audio.
5. Lighting
Natural light is your best friend when recording online course content. However, you may not be able to record in well-lit spaces. In these cases, you’ll need to invest in external lighting options to help illuminate you and ensure the best quality visuals.
Consider ring lights that you can attach to cameras to provide flattering, even lighting for your face or softbox lights and LED panels for soft, flexible, and diffused lighting to help give your videos a professional sheen.
6. Tripods
Ensuring your video content is stable is another thing to consider. Pictures that wobble and shake are off-putting and will turn your audience off.
Consider purchasing a tripod for smartphones and small cameras or a gimbal to help shoot on the move for professional-level steady camera work.
How to set up your recording space
Getting the right equipment together is one part of being ready to record quality online course videos. Another critical factor is getting your online course video setup right. When ensuring your recording space for online courses offers you the right environment to create excellent, professional content, there are several things to consider.
1. Location
Getting the location right for your video is critical. Find somewhere quiet, with good acoustics and minimal distracting background noise. Use a well-lit space with plenty of natural lighting for the best quality visuals, if possible.
2. Lighting
Using additional lighting and natural light helps provide soft, even visuals. Avoid sitting in direct sunlight, and augment your lighting using a ring light on your camera to provide even, flattering illumination and softbox lights to give your recording environment a professional, well-lit feel.
To minimize shadow, position your main light source slightly above eye level in front of you.
3. Optimize your backdrop
The background of your video plays a massive role in how your audience perceives you. Take some time to consider what kind of impression you want to portray to your students. Here are some options:
4. Minimalist backgrounds
A clean, uncluttered background in soft, neutral tones, such as a wall, can create a professional look without distracting attention from your content. Don’t be tempted to record in front of stripes or bright, vivid colors that draw the eye away from you.
5. Branded backgrounds
Incorporating your branding into your backdrop provides your content with a cohesive look. You could include a branded banner on the wall or have a custom-printed backdrop that helps promote your organization while engaging your audience.
6. Bookshelves
A well-organized bookshelf adds authority to your content, marking you as an expert and adding visual interest. Be strategic, and ensure that useful additional books and resources relevant to the course are clearly visible to your audience.
7. Green screen
Recording in front of a green screen allows you to add virtual backgrounds during editing. Although offering you greater flexibility with your recorded content, setup times can be lengthy.
8. Reducing background noise
Running a test video before filming your online course content allows you to check for background noise. Make sure you have windows and doors closed, and turn off any appliances in the background that make a noise.
If you’re experiencing an echo in your recording space, use soft furnishings like curtains, cushions, and acoustic panels to soften the environment and absorb the noise. Also, consider using a directional microphone to capture your voice and reduce background noise.
Tips for editing your online course videos
Editing your video brings each element together into a complete package you can share with your audience. When editing online course videos, remember to enhance your content with clean edits, ensuring everything is geared towards the specific learning outcomes for your students.
Here are some top tips to help you maximize the editing experience.
Best video editors for online courses
There are various free options for editing your online course videos, some free and others requiring a paid subscription.
Free options
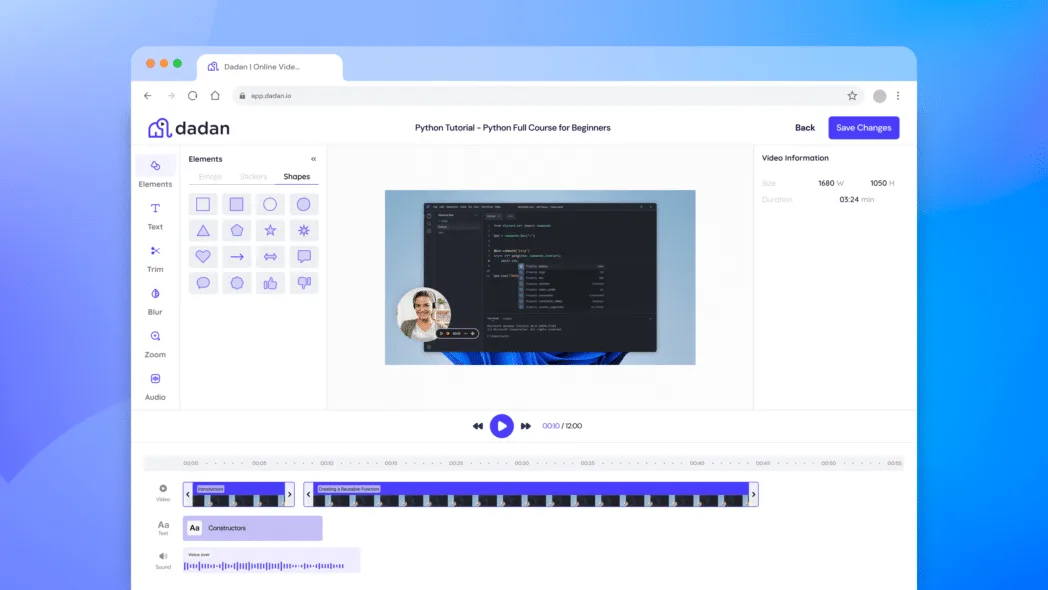
- Dadan’s Video Editor – Dadan’s built-in video editor has all the essentials—cutting, trimming, adding captions, transitions, background music, and more—to create clean, engaging videos ready for any platform. It is free to use without any watermark.

- iMovie – Built-in editing tool on MacOS with a user-friendly interface that’s ideal for newcomers
- DaVinci Resolve – DaVinci Resolve is available on Windows, Mac, and Linux machines. It has one of the best editing tools available in any free package
- HitFilm Express – Available on Windows and Mac, offers excellent editing features for free
Paid options
- Adobe Premiere Pro – Industry-standard editing suite with powerful and versatile features
- Final Cut Pro – Mac-only software that’s fully optimized for use with Apple devices
- Camtasia – Excellent editing suite for educational videos.
Editing techniques
Here are some pointers on editing to give your video content a quality finish, removing distractions and creating a seamless viewing and learning experience for your audience.
- Remove filler words, such as “um,” “like,” etc.
- Remove long pauses
- Suppress background noise
- Crop out visual distractions
- Use transitions and jump cuts to maintain interest and energy
- Add supporting footage to illustrate key points
- Add text overlays and annotations to emphasize important information
- Include captions for accessibility
- Use zoom and pan effects to highlight details
- Correct any color or brightness issues for a consistent look
- Ensure audio levels are consistently balanced
- Add branded intros and outros where required to add a professional flourish
How to optimize your online course videos for SEO and engagement
Optimizing your content with SEO-friendly video metadata will help your content rank highly in search engine results and increase engagement with existing and new students.
Here’s how you can optimize your online course videos for maximum visibility:
Video titles
Using relevant keywords in your title and keeping your video titles short (usually under 60 characters) is good practice. Including numbers can help increase engagement and click-through rates, but avoid the temptation of over-promising what your content delivers with clickbait. Ensure your title accurately represents your video.
Descriptions
When creating video descriptions, ensure keywords and essential information appear early on. Ensure your description flows naturally by summarizing what your video contains. Remember to add timestamps and links to your course or website and avoid keyword stuffing.
Tags
Tags help people search for your video by using keywords. Adding relevant tags to your video increases the likelihood of it appearing on searches. Between 10 and 15 is the sweet spot for optimal results, mainly if you include variations on your primary keyword or phrase.
Thumbnails
Creating eye-catching thumbnails also helps boost your video’s visibility. Use engaging, high-contrast color mixes to stand out and include a punchy 3 to 5-word text that builds on your title. Ensure thumbnails remain consistent with your brand for consistency.
Calls-to-action (CTAs)
Incorporating clickable CTAs encourages viewers to interact with other relevant content. For example, if posting videos to YouTube, include links to related videos on the end screen. Also, use verbal CTAs in your video to encourage viewers to sign up for mailing lists, watch other videos, or subscribe to your channel.
Best practices for when you record online course videos
Maintaining certain best practices for recording videos can help you build excellent, engaging content that informs, educates, and maintains the interest of your audience. Here are some professional course video recording tips to bear in mind throughout the recording process:
Maintain eye contact
Speaking to a camera can feel unnatural and intimidating. However, maintaining eye contact with the camera is vital to creating engaging content. It can help to imagine you’re speaking directly to someone operating the camera to build your confidence and feel at ease.
Speak clearly
Feeling uncomfortable speaking to a camera can make you mumble or rush your words. Take a deep breath, and speak clearly and at a moderate pace so your audience understands what you’re saying.
Use positive body language
Body language and facial expressions are crucial to keeping your audience invested in what you’re saying. Maintain open and positive body language that engages your audience, smile, and don’t be afraid to use expression to build a rapport with your viewers.
Regular breaks
Filing can be tiring, especially if you’re speaking to camera for long periods. Break your content into small, bite-sized chunks, and take regular breaks. Ensure you’ve got plenty of fluids to remain hydrated and help stave off the threat of fatigue.
Common mistakes to avoid when recording course videos
There are plenty of common online course recording mistakes to be aware of when creating your content. From poor audio to inconsistent lighting, here are some tips on how to avoid recording mistakes that will drive your audience away:
Poor sound quality
Poor sound quality can impact as significantly as poor video quality, especially in an educational setting where what you’re saying matters.
Record in a quiet setting without distracting background noise, and use an external microphone to ensure your audio is of the best possible quality. If your video requires outdoor filming, use microphone covers to minimize disruption by wind.
Finally, if your audio is echoing, use soft furnishings and curtains in the room to help cushion the acoustics.
Overcomplicating the script
While your topics may require you to use some technical wording and jargon, try to keep your script simple and to the point.
Avoid the mistake of writing for yourself. Instead, keep your audience and their expertise level in mind. Keep your script concise, simple, and easy to understand.
Not testing your equipment
Can you imagine spending three hours recording a video and finding out that the image and sound quality are poor when you review it?
Avoid this nightmare scenario by running a quick screen test before filming. This allows you to check the video quality, sound, lighting, and background and make any necessary adjustments without wasting hours of your time.
Inconsistent lighting
If you’re filming a long video and taking long breaks, ensure you film each section with a consistent lighting setup. This is particularly crucial if you’re using natural light, which moves throughout the day and can lead to shadows appearing.
Use ring and softbox lighting to eradicate shadows and maintain consistent and soft lighting throughout the shoot.
Ready to record your first course?
Video content has played a massive role in the shift from in-person learning to e-learning, and creating high-quality, engaging course material is easier than you think. Combining audio with video images is proven to help students achieve better outcomes and enables you to engage more effectively with your audience.
Now, you know what you need to join the legions of educators creating outstanding educational video content. From getting the equipment and setup right to understanding best practices for recording and editing your content, you, too, can use the tips and tools provided in this guide to create your own highly effective and engaging online course videos.
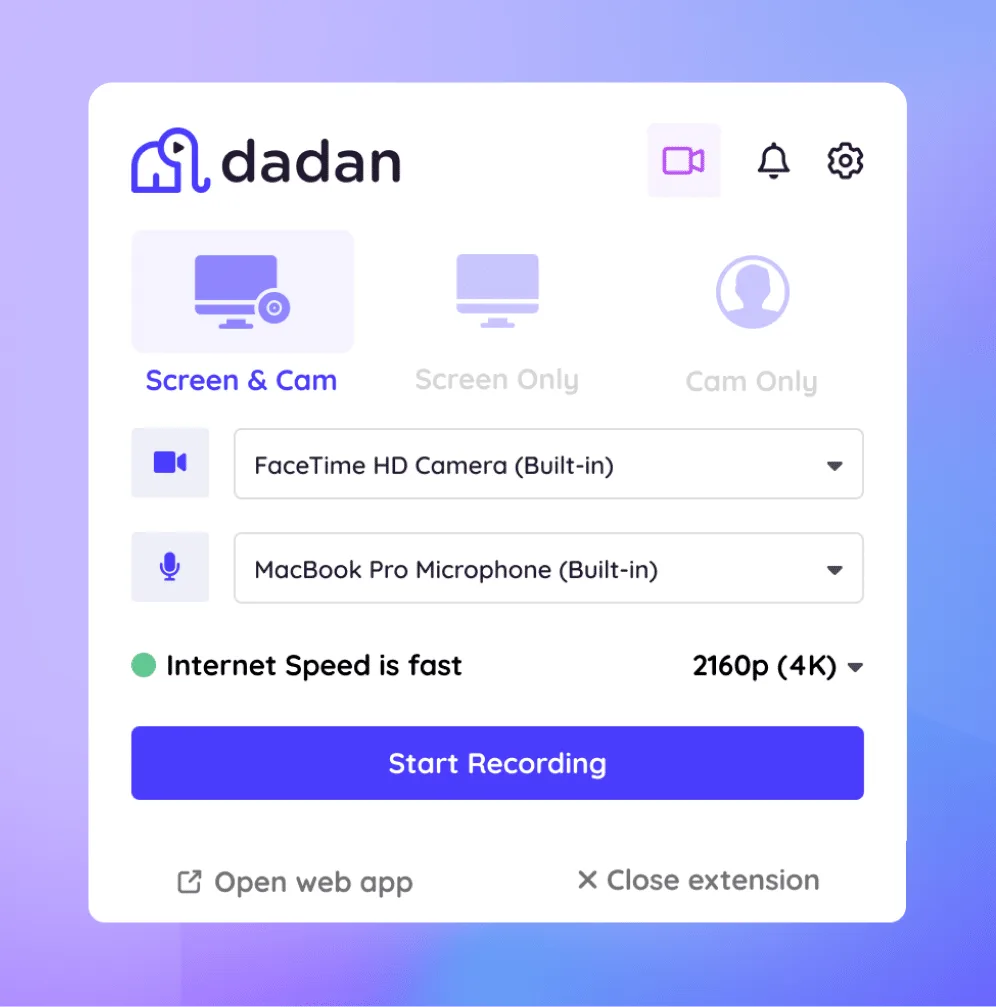
To get started, why not try Dadan’s screen recording software that allows you to record your PC screen and webcam, along with a massive range of fantastic editing tools to help you begin your journey to online education video excellence? Sign up for their free trial today.


