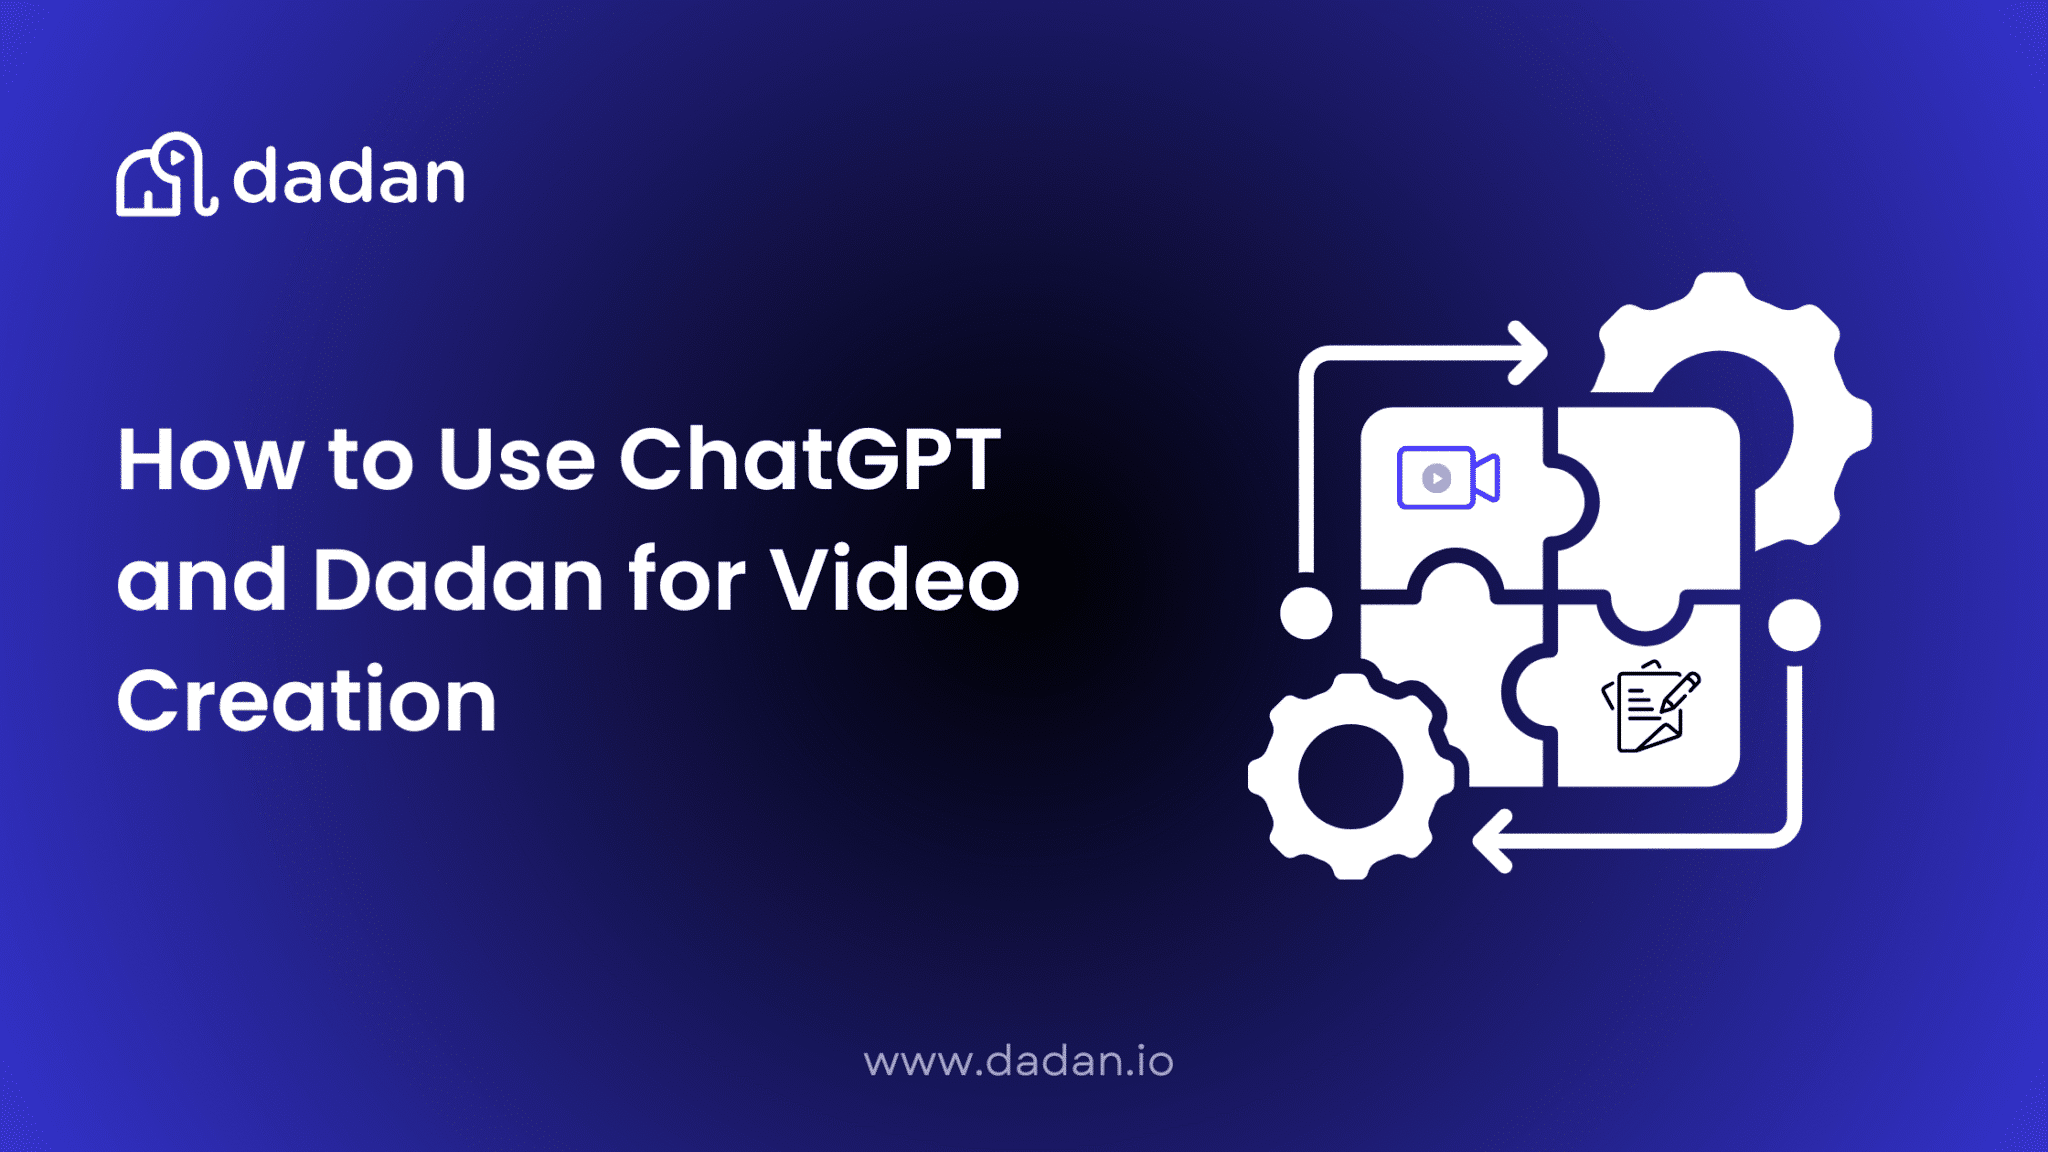
Searching for how to use ChatGPT for video creation can be confusing. Most guides focus only on prompts, while others imply that ChatGPT can replace recording or editing tools, which it can’t.
You can use ChatGPT to plan videos, like for ideas, scripts, hooks, and outlines, but that’s all. You still need a way to record and edit the video.
Dadan is a good option. It helps you record the video itself. It handles screen or camera recording and allows basic edits before the video is shared.
This guide explains how to use ChatGPT and Dadan together for video creation, step by step, focusing on a practical workflow you can reuse for YouTube videos, courses, product demos, and internal recordings.
What Can ChatGPT Do in Video Creation?
ChatGPT doesn’t help you create videos but you can use it for ideation.
You can use it before recording to draft a script, outline what you want to cover, or revise something you’ve already written. It’s useful when you know the topic but haven’t settled on the wording or order yet.
It’s also useful after recording. A transcript can be turned into a description, notes, or a summary without going back through the full video.
But that’s where its role ends. ChatGPT doesn’t record, edit, or publish video. It helps you prepare what you’re going to say, and reuse what you’ve already said.
The actual recording and editing still happen elsewhere.
Step-by-Step: Using ChatGPT and Dadan for Video Creation
Once you have a clear idea, the rest of the process becomes mechanical.
ChatGPT is used to prepare what you want to say. Dadan is used to record and shape the video itself. The steps below follow that order, from planning the content to recording and publishing the final video, without jumping between tools or adding unnecessary steps.
Step 1: Generate Video Ideas
Start with what you already know you need to talk about. That could be a product feature, a recurring question from customers, a lesson you’ve explained before, or an update you’ve shared more than once.
Use ChatGPT to narrow that down into a single idea that fits one video. Mention who the video is for, where it will be published, and what the viewer should walk away with. The more specific you are, the more usable the output becomes.
Here is a prompt you can use:
I want to record a short video explaining [topic]. The video is for [audience] and will be shared on [YouTube/Instagram/product page/customer update]. Give me 5 specific video ideas I can explain in under 5 minutes. Each idea should focus on one step or decision and avoid marketing language.
For example, you can ask ChatGPT for:
- ideas for short YouTube videos explaining a single feature
- topics for internal training clips
- angles for product demos that answer common customer questions
Don’t treat the first list as final. Skim it and pick one idea that feels concrete enough to explain in a few minutes. If an idea needs a lot of setup or background, it’s probably too broad.
Once you’ve chosen the idea, the next step is to turn that idea into a simple script you can follow while recording.
Step 2: Create a Video Script
Once you’ve picked the idea, you need something to refer to while recording.
Use ChatGPT to write a basic script or outline. This is not meant to be read exactly as written. It’s there to keep the recording in order.
Start with three parts:
- how the video starts
- what needs to be covered
- where it ends
When you can follow it without stopping to reread sentences, it’s ready for recording.
Here’s a prompt you can use to generate the first version of the script:
I’m recording a short video explaining [topic]. Write a simple script I can refer to while recording.
Keep it conversational and concise. Use short sentences and avoid formal language. Don’t include greetings or sign-offs.
If the script is too long, shorten it. If it sounds formal, rewrite it in simpler language. The script should be easy to glance at while speaking, not something you have to read line by line.
Once the script feels usable, move on to shaping the opening.
Step 3: Write Hooks and Intros
Before you record, decide how the video starts. It’s the first one or two lines that get you into the explanation without delay. Avoid greetings, context-setting, or announcements. The opening should lead straight into the topic.
Use ChatGPT to generate a few opening lines for the video. Keep the request narrow. Ask only for the start.
Here’s a prompt you can use:
I’m recording a short video about [topic]. Write 5 opening lines I can start speaking with.
Each line should be one or two sentences. Don’t include greetings, context, or phrases like “in this video.”
Read the lines out loud. Pick the one that sounds closest to how you would naturally begin explaining the topic, then adjust it slightly in your own words.
Step 4: Create Storyboards or Scene Flow
Before recording, decide the order you’ll cover things in. It means knowing how you start, what follows, and where the video ends, so you don’t have to decide that while speaking.
Use ChatGPT to list the sequence of points in the order you’ll explain them. Keep it short. One line per point is enough.
Here’s a prompt you can use:
I’m recording a short video explaining [topic]. List the points I should cover in order. Each point should be one short line. Don’t add explanations or filler.
Once the order is clear, you’re ready to record.
Step 5: Record Videos Using Dadan
If you don’t already have an account, sign up on Dadan and log in. Once you’re in, choose how you want to record the video. You can record your screen, your camera, or both together. Select the correct microphone before starting.

Paste your script into the teleprompter so that you don’t forget your lines. Adjust the scroll speed so it moves at a pace you’re comfortable with.

Start recording and speak naturally. If you pause, rephrase a sentence, or repeat a line, keep going. You can trim those parts later. The goal here is to get a complete take without stopping every time something goes wrong.
When you’re done, stop the recording. The video is saved to your Dadan library and ready for review.
Step 6: Edit and Publish Video using Dadan
Open the recorded video from your Dadan library.
With Dadan’s online video editor, you can trim videos, add text, blur sections, zoom into important areas, and more. Edit your video directly from the transcript using text-based video editing. Cut, move, rearrange, and remove filler words or pauses, and see the changes automatically reflected in the video. You don’t need to edit heavily. The goal is to remove obvious distractions and keep the video clear.

Once the edits are done, review the video once. Check that the audio is clear and the flow makes sense from start to finish.
After that, export the video or share it directly, depending on where it needs to go. At this stage, the video itself is finished. The next step is handling the title, description, and tags before publishing.
Step 7: Generate Titles, Descriptions, and Tags
After the video is edited, the final step is to prepare the metadata. Start by generating a transcript. Open the video from your Dadan library and click Transcription. Dadan will transcribe the video automatically.

After the transcript is ready, next to the video, you’ll find the Dadan AI Assist option.
- Click Title to generate a video title.
- Click Description to generate the video description.
- Click Tags to see a list of suggested tags based on the video content.
Review each field and make edits where needed. Titles should be clear and specific. Descriptions should explain what the video covers. Tags should reflect the main topics.
All generated text remains searchable within Dadan, which also helps when managing larger video libraries. Once the metadata looks right, the video is ready to publish or share.
ChatGPT Prompts for Video Creation
You can use the prompts at different points in the video creation process.
Prompt for Video Ideas
Use this when you know the subject but not the angle. Pick one idea from the list and move on to the next step.
I want to record a short video explaining [topic]. The video is for [audience] and will be shared on [YouTube/Instagram/product page/customer update]. Give me 5 specific video ideas I can explain in under 5 minutes. Each idea should focus on one step or decision and avoid marketing language.
Prompt for Writing a Script
Use this after you’ve chosen the idea.
I’m recording a short video explaining [topic]. Write a simple script I can refer to while recording.
Keep it conversational and concise. Use short sentences and avoid formal language. Don’t include greetings or sign-offs.
Remember that you’re not looking for a final draft with this prompt. You’re only looking for something you can edit and finalize before recording.
Prompt for Hooks and Openings
Use this to decide how the video starts. Choose one line. Adjust it in your own words.
I’m recording a short video about [topic]. Write 5 opening lines I can start speaking with.
Each line should be one or two sentences. Don’t include greetings, context, or phrases like “in this video.”
Prompt for Reusing a Recorded Video
Use this after the video is recorded and transcribed.
Here is a transcript from a recorded video. Turn this into a short description and a set of notes.
Keep it factual and concise.
This saves you from rewatching the video. These prompts are intentionally simple. They’re meant to help you decide and write.
Common Mistakes When Using ChatGPT for Video Creation
These issues come up repeatedly when people try to use ChatGPT as part of a video workflow:
- Reading the script word for word. Text may look fine on screen, but it often sounds stiff when spoken.
- Rewriting the same script multiple times instead of moving on to recording.
- Using ChatGPT during recording. Switching back mid-recording breaks the flow and slows everything down.
- Trying to make ChatGPT handle video tasks. It doesn’t record, edit, or publish video.
- Overloading prompts. Asking for ideas, scripts, hooks, and metadata in one request usually produces unusable output.
Avoiding these mistakes keeps the process simple and prevents the workflow from getting stuck in one tool.
Best Practices for Using ChatGPT Effectively
A few habits keep ChatGPT useful without slowing the video process down:
- Use it for one task at a time.
- Move on once you have something usable. Recording will surface issues faster than another rewrite.
- Be specific in your prompts. Mention the topic, audience, and where the video will be shared.
- Treat the output as a draft. Adjust wording so it sounds like something you’d actually say.
- Finish all thinking before recording. Avoid switching back to ChatGPT once you start recording.
Conclusion
ChatGPT helps you decide what to say, organise your thoughts, and reuse what you’ve already recorded. But it doesn’t replace recording or editing tools, and it doesn’t need to.
When you pair it with Dadan, the process becomes much easier. ChatGPT handles the text. Dadan handles the recording and editing.
Once you’ve gone through the process a few times, you know where to begin, what to do next, and when the video is finished. That’s the real advantage here, having a repeatable way to get videos done without dragging the process out.
FAQs
Can ChatGPT create videos directly?
No. ChatGPT generates text. It does not record, edit, or export video files.
How does ChatGPT help in video creation?
ChatGPT is used to write scripts, outline talking points, and reuse recorded content such as transcripts, summaries, or descriptions.
What is Dadan used for in this workflow?
Dadan is used to record the video, make basic edits, generate transcripts, and create video metadata.
Do I need video editing skills to use Dadan?
No. Editing is limited to trimming and basic adjustments. No timeline-based editing is required.
Can I create product demo videos using ChatGPT and Dadan?
Yes. ChatGPT is used to prepare the script or flow. Dadan is used to record the demo and edit the video.
What is the biggest advantage of using ChatGPT with Dadan?
Each tool is used for a specific step. Writing happens first. Recording and editing happen after. The steps do not overlap.