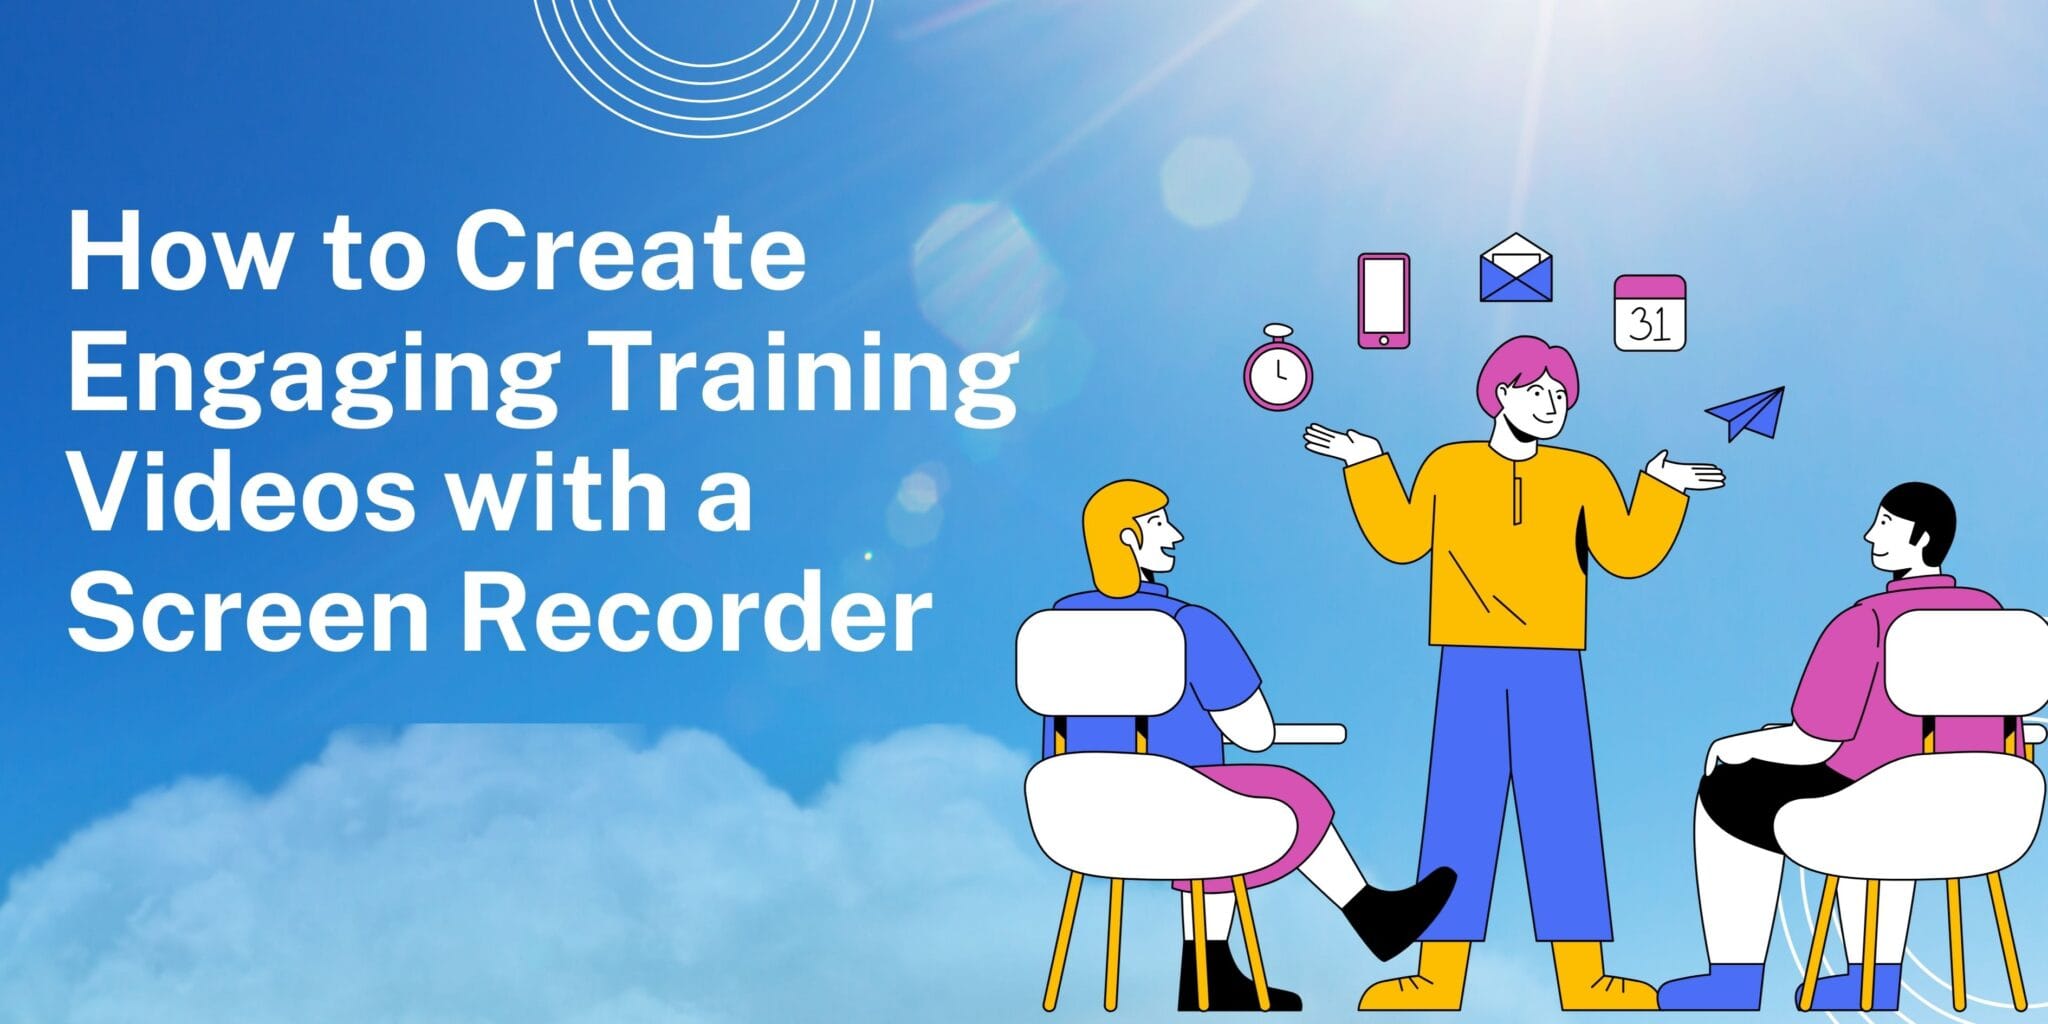
What makes a training video effective? It comes down to two things: the training content and the way you record it. The first one is about research and planning; most HR leaders and L&D professionals do not have a problem with this. The second, which is about how you deliver it, is where they struggle. For first-timers, the struggle is more intense because you want to get it right and prove yourself.
Here’s some advice: before worrying about fancy edits or camera setups, start with a tool that is simple to use. Like, a screen recorder.
We have put this guide together to share the ins and outs of screen recorders and how they are a fantastic tool for making training videos. Let’s start by exploring why screen recorders make such a great starting point for training videos.
Why Use a Screen Recorder for Training Videos
Here are five solid reasons that will help you make up your mind:
1. Budget
Training video production through agencies typically costs $1,000 to $5,000 per minute of video. It can go up to $10,000 for complex productions. When you’re managing training budgets that have already dropped to an average of $774 per employee in 2024 (down from $954 in 2023), you know that you have a limited budget to spend. Screen recorders are cost-effective and offer the essential features, like recording, hosting, editing and sharing without the hefty price tag.
Scenario: Imagine you need to create a 10-minute software training video. Through a production company, you’re looking at $10,000-$50,000. With a screen recorder, your main cost is the software subscription, which is often under $20 per month.
2. Time Crunch
HR teams are stretched thin, and traditional video production timelines don’t help. Professional productions can take weeks or even months from concept to delivery. Screen recorders let you create training content the same day you identify the need. When you have new software rollouts, policy changes, or urgent compliance training requirements, waiting weeks for external producers isn’t an option.
3. Remote Training
With remote teams, your training program must solve two critical challenges: it must be available to access from different locations and time zones, and employees have the option to watch the videos according to their schedule. Screen recording videos solve both problems.
4. Consistency at Scale
Every time you rely on different trainers to deliver the same content, you get variations in quality and messaging. Screen recordings ensure every employee, whether they’re onboarded in January or December, receives identical training.
5. Updates
Software updates, policy changes, and procedure modifications happen constantly. With traditional video production, updates mean another expensive project. Screen recorders let you quickly re-record specific sections or create supplementary content without rebuilding everything.
Steps to Create an Engaging Training Video
If the above points sound relatable and feasible, you must read this section as it dives into the simple steps, yet effective, that you must take to create a training video using a screen recorder.
Step 1: Plan Your Content Before You Hit Record
Before you start recording, get clarity about three key questions: Who’s watching this? What specific skill do they need to learn? What should they be able to do after watching?
Write a simple outline, not a rigid script, that breaks your process into digestible steps. If you’re explaining software, map out each click and decision point. For policy training, identify the real-world scenarios where employees will apply this knowledge. This 15-minute planning will save hours of re-recording later.
Step 2: Choose the Right Screen Recorder (And Stick With It)
Here’s where many teams get stuck researching forever. Instead, focus on these practical selection criteria: Recording quality (1080p minimum for professional appearance), editing capabilities (basic trimming and annotation tools), audio recording (both system and microphone audio), and sharing options (direct export to your LMS or video platform).
Test the free versions of 2-3 options, don’t spend weeks comparing every feature. Look for tools that handle both screen and webcam recording simultaneously, support annotation during recording, and won’t crash your system during long sessions. Once you pick one, commit to learning it thoroughly rather than constantly switching tools.
Step 3: Set Up Your Recording Environment
You don’t need a studio-like recording environment. Start simple; Close unnecessary applications to avoid distracting notifications. Check the screen resolution; it must match your target playback format. Test your audio using a free mic checker. For software tutorials, prepare a clean desktop with bookmarks and files ready.
If you’re recording yourself explaining processes, position your webcam at eye level and ensure good lighting. A window behind your computer often works better than overhead office lighting.
Step 4: Record in Short, Focused Segments
Keep individual recording segments under 10 minutes. If you’re covering a complex process, break it into logical chapters: “Setting Up Your Account,” “Creating Your First Project,” “Troubleshooting Common Issues.”
This approach also makes editing easier and allows employees to jump to specific sections they need. When you make mistakes during recording, don’t restart; just pause, collect your thoughts, and continue. You’ll edit out the pauses later.
Step 5: Edit for Clarity and Engagement
Basic editing transforms good recordings into great training materials. Trim out long pauses, “ums, and off-topic tangents. Add simple annotations to highlight important buttons or menu items—your screen recorder’s built-in tools are usually sufficient for this.
Include brief intro and outro segments that clearly state the learning objective and summarize key takeaways. If your recording includes multiple software screens or applications, use jump cuts to eliminate waiting time (like page loading) that adds no educational value.
Step 6: Test and Distribute Strategically
Before rolling out to your entire team, test your video with 2-3 employees from your target audience. Ask specific questions: Could they follow along easily? Were any steps unclear? Did the pacing feel right?
Choose your distribution platform based on where employees already go for information. If you use an LMS, integrate there. If not, consider creating a simple video library on your intranet or using platforms that integrate with your existing systems.
Best Practices for Engagement
Training demands a high cognitive load, using a few of these engagement tactics makes it a bit easy for the trainees.
Real-Time Visual Guidance
Mouse highlighting and cursor effects are fundamental engagement tools that many overlook. When viewers can clearly follow your cursor movements, they stay focused and understand exactly where to look. Enhanced mouse highlighting with colored circles around clicks, spotlight effects, or magnification on important areas are some features you must look into.
On-screen annotations during recording provide immediate context without breaking the flow. Drawing arrows, adding text callouts, or highlighting specific interface elements while recording keeps viewers engaged with the content rather.
Interactive Elements That Drive Action
Embedded interactive elements like quizzes, polls, and call-to-action buttons transform viewers into active participants. When strategically placed at decision points or after key concepts, these elements reinforce learning and maintain attention.
Branching scenarios and decision points allow employees to practice real-world situations safely. For compliance training or customer service scenarios, learners can choose different responses and see immediate consequences, making the training more memorable and practical than traditional linear videos
Personalization Through Smart Technology
AI-powered engagement features are becoming essential for modern training videos. Automated generation of relevant questions, personalized learning paths, and smart content recommendations based on viewer behaviour keeps employees engaged throughout longer training sessions.
Multi-language support and automated captions ensure training reaches all employees effectively.
Strategic Content Structure for Maximum Retention
Microlearning through segmented content significantly improves engagement compared to lengthy single videos. Breaking complex processes into 5-10 minute focused segments with clear learning objectives prevents cognitive overload and allows employees to consume training during natural breaks in their workflow.
The best way to achieve that is by adding chapters. You can use dadan’s AI chapter generator, which takes the extra work off your hands and automates it. It identifies where the trainee might need a break before diving into the next intense topic. As a creator, you always have the control to override the AI’s work and change the chapter duration based on your thinking.
Analytics-Driven Continuous Improvement
Engagement tracking will tell you where viewers pause, rewind, or drop off. This will help you identify confusing sections and optimize content accordingly.
Your Next Steps to Training Success
Screen recorders simplify every stage of training, from planning and recording to engaging and updating content. These tools not only cut costs and save time but also empower you to deliver consistent, high-quality learning experiences. Add cursor highlights, interactive quizzes, and real-time annotations to turn passive viewers into active learners. Commit to one reliable recorder, refine your process over time, and use analytics to keep improving.
FAQ
What makes a training video engaging when using a screen recorder?
An engaging training video clearly highlights key actions using tools like cursor highlights, annotations, and callouts. Keeping content concise, adding interactive elements such as quizzes or polls, and maintaining a conversational tone also help capture and hold attention.
How long should a screen-recorded training video be?
Aim for 5 to 10 minutes per video segment. Short, focused videos fit modern attention spans better and allow learners to consume content in manageable chunks without feeling overwhelmed.
Can I add narration or voiceover after recording my screen?
Yes, many screen recording tools let you add narration or voiceovers after the recording. This helps improve audio quality and allows you to focus on clear, well-paced explanations without needing to speak live while recording.
Do screen-recorded training videos work for employee onboarding?
Absolutely. They allow new hires to learn at their own pace, revisit key topics, and see real software or process workflows demonstrated visually, making onboarding more consistent and accessible.
How do subtitles and captions improve training videos?
Subtitles and captions enhance accessibility, support learners with hearing impairments or non-native speakers, and improve comprehension by reinforcing spoken content visually.
What’s the best way to share screen-recorded training videos with learners?
Use platforms your employees already use, like LMS systems, internal portals, or cloud video services that support easy access, mobile compatibility, and tracking to ensure completion.
Do I need editing skills to make professional-looking training videos?
Basic editing skills help polish videos by trimming mistakes, adding annotations, and improving flow, but many tools provide user-friendly editing features that beginners can easily master.