Wasting time and struggling to record a custom-size video?
Within 3 minutes, Dadan will teach you how to record your custom-size video.
With more of today’s professional, educational, and social media content being video, the ability to drill down to add precision and personalized touch is increasingly essential.
Today, several tools are available that make full-size recordings obsolete. This means that if you’re creating video user guides, professional presentations, webinars, or showing off your gaming skills, you can zoom in on the screen section that adds context, personality, and character to your content.
This comprehensive guide provides an easy-to-follow step-by-step process for creating custom-sized videos. Then you’ll have:
- An understanding of how to create customized videos
- Know top tips for achieving high-quality customized content
- Understand how to troubleshoot common issues
Without further ado, let’s get right into it.
What is a custom-size video recording?
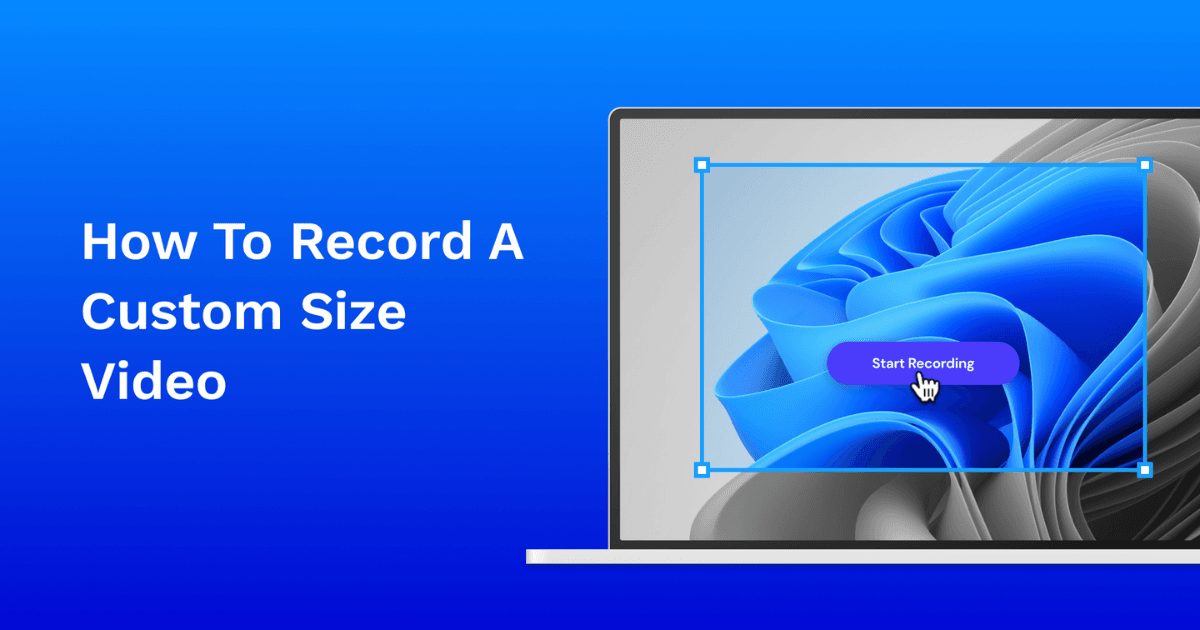
Custom-size video recording captures a part of your device screen rather than recording your entire screen or selecting a range of pre-set dimensions. This flexibility allows you to choose and record specific areas of their screen, helping to tailor and personalize the output to your audience’s desired needs.
While the critical benefit of recording custom-sized areas of your screen lies in its versatility, with users adjusting the dimensions and position of the recording area. There are several other enormous benefits to recording a custom screen area. These include:
- Recording a specific app without displaying your entire desktop
- Recording from a specific monitor in a multi-monitor setup
- Focusing on particular screen areas during tutorials in detail
- Recording only the video conferencing window during webinars or conference calls
- Creating videos in platform-specific dimensions for social media use
- Capturing gameplay footage without including chat windows
This granular level of control over what’s being recorded and captured as content allows you to create more specific and targeted content than ever, reducing the need for arduous post-production editing and ensuring the final product meets your requirements.
Why you might need to record a custom size video
If you’ve tried to record your screen in the past, chances are it’ll have been a massive exercise in frustration. Rather than being able to select the part of your screen display you want to capture, you’ll have to capture all the contents of your screen. This means your audience would have been party to your disorganized desktop or needed a magnifying glass to pick out the valuable part of the recording.
Why record a custom-size video?
Custom Size Recording is useful if you want to record your screen and webcam in a specific aspect ratio or resolution.
Rather than being able to select the part of your screen display you want to capture, you’ll have to capture all the contents of your screen. This means your audience would have been party to your disorganized desktop or needed a magnifying glass to pick out the valuable part of the recording.
Selecting a customized part of the screen allows you to precisely tailor your content to your audience’s needs. It allows you to zero in on the valuable information on your screen to create laser-focused tutorials, crisp and informative webinars and presentations, and high-octane gaming content.
Recording a smaller screen area helps reduce your file size, keeping things clean and professional. This makes storing and sharing your finished content with minimal fuss easier without eating into your or your colleagues’ valuable storage space.
Choosing the right tool for custom-size recording
Okay, now you know why you need to use custom-size recording. But what should you look for in the perfect screen recording tool?
Here are the key considerations:
Ease of use – Think about who’s using your recording software. Regardless of their expertise, select a tool that’s easy to use.
Compatibility with your operating system – Not every tool works with every operating system. Before selecting your tool, make sure it works with your OS, whether it’s Windows, macOS, or something else.
Features and functionality – What are the non-negotiable features you can’t do without? Make a list of them and find a tool with all the features you need to create the perfect custom size recording.
Price – It’s no secret that the tools with the broadest array of features come at a cost. However, several excellent free tools could perform the tasks you need for free. Before committing to a subscription, look at the free tools to see if they fit your needs. If not, find a tool that meets your budget.
Popular software options
Here are five of the most popular software options with custom-size recording:
- Dadan – Intuitive UI with offline recording and local file saving
- ScreenPal – User-friendly tool with hot-key recording capabilities
- OBS Studio – Free screen recorder, ideal for live-streaming games
- Loom – Online communication screen recorder that’s great for business use
- Movavi – Easy-to-use tool with recording scheduler capability
5 easy steps to record a custom size video
Now that you know why you might want to create custom-size videos, follow these steps to make them a reality.
1. Install your preferred software
Once you’ve decided on the right software to create your killer content, it’s time to download it.
For example, if you choose Dadan, click here to sign up for your free account and then click download for your operating system.
This will launch the installer into your “downloads” folder. Open the installation file and install the software onto your machine.
Before you click “download,” ensure your chosen software is compatible with your operating system. Dadan is available on macOS and Windows and as a browser extension with Google Chrome and Microsoft Edge.
2. Configure recording settings

Once your software is downloaded and installed, configure your settings for the perfect recording.
Click on “Settings” or “Preferences” to launch the menu. Select your video format, frame rate, and quality to ensure the highest possible quality of your recordings. These settings may vary depending on the platform you plan to share the content.
In the Dadan software pop-up screen, you can change the video quality by clicking on the highlighted yellow current recording quality at the bottom right of the screen.
This will launch a further pop-up with which you can choose to amend the recording quality.
3. Select your custom recording area

On Dadan’s main window, you can record your full screen, a specific window, or a customized area.
Click on “Custom Size”, which is highlighted below.
This will launch a pop-up instruction that allows you to drag using your mouse cursor to select the customized screen area you want to record.
Where possible, select the standard aspect ratios that fit your chosen content-sharing method. After the recording, you can do this in Dadan’s excellent editing suite.
In addition, always keep the cursor within the recording area. The highlighted cursor with Dadan allows your audience to follow the points you’re trying to make as you move your cursor around the recording area.
4. Adjust additional settings
Before hitting “Record,” check that your additional settings capture everything you need.
The default in Dadan is to record your screen and webcam simultaneously. This will automatically overlay your webcam onto your main screen recording. You can adjust this to capture your screen or webcam only by clicking the relevant parts of the screen.
In addition, if you provide narration, you can choose the microphone that captures your voiceover audio. If you don’t want to capture voiceover, select “None” on the dropdown menu next to the microphone icon on the main Dadan screen.
Some screen recording tools have hotkeys assigned to allow you to start and stop recording with your keyboard. Others allow you to assign custom hotkeys to avoid too much cursor movement on your videos.
5. Start and stop recording
Once you’ve selected your camera, screen, audio options, and customized record area, click the purple “Start Recording” button to begin the Dadan screen recorder.
This will launch a 3-second countdown before your recording begins, giving you time to ensure everything is ready to go. When you want to stop the recording, click the square “Stop” button on the pop-up toolbar, and the capture will immediately stop.
You can pause the capture mid-recording by clicking on the “Pause” button; this allows you to take a break and resume the recording from where it stopped.
Dadan’s pop-up toolbar also allows you to switch on cursor highlighting when you want viewers to follow your mouse to emphasize points, reset the recording, and delete it if you’re going to start again from scratch.
Once you stop the recording, the video automatically saves on the cloud and is accessible through your account dashboard via the Dadan website. Here, you can edit your video and manage how you share your content.
6. Save and export your video
Dadan videos automatically save in MP4 format, while other video capture tools save in MOV or AVI format. MP4 formats are easily shareable and compatible with third-party platforms like YouTube and Vimeo.
When you sign up for a Dadan account, you can access a free video library. This is where Dadan automatically saves your recordings. Here, you can manage your videos into different folders, depending on the content, and create “Teams,” which gives colleagues password-protected access to your content.
If you’re exporting your video, try to export at a minimum of 1080p resolution. This provides good-quality visuals on most platforms.
Tips for high-quality custom-size videos
Now you’ve conquered the science of creating custom-sized videos, knowing how to turn them into creative works of art can take your content to the next level.
Here are some top tips to bear in mind when recording custom-size videos:
Optimal resolution
Choosing the correct resolution is essential for producing crystal-clear video images. The standard is 1080p (1920×1080), which provides outstanding quality and works well with mainstream video content sites.
However, if you plan to share your content on larger screens, aim for ultra-HD 4K content. This will prevent your content from appearing pixelated or blurry. Be aware that 4K videos consume more storage space and processing power.
If you create social media content, 720p works perfectly for small screens and leading social media-sharing platforms like TikTok and Instagram.
Light and audio
Good lighting can make all the difference if you’re using your webcam in your content. While natural light is ideal, it’s not always available. It’s worth investing in ring or softbox lights to reduce shadow and create a flattering light palette.
Meanwhile, crisp and clear audio is equally important as the quality of your visuals. To capture your narration, use a good-quality USB microphone rather than relying on your device’s built-in mic. Record in a quiet room without an echo and speak about 6 inches from your mic to ensure the best vocal quality.
Close background apps
Having other apps running in the background could significantly impact your recording quality. These take up computing power and could cause your videos to lag and your audio to distort.
Close down any apps you don’t need before hitting record. This will help you capture crystal-clear visuals and sound, stay on point, and avoid getting distracted by notifications popping up as you record.
Practice runs
Remember, practice makes perfect! Don’t expect to get everything right on your first run. Perform a test recording before launching into the real thing. This allows you to check your settings, such as resolution, audio, lighting, and narration, before you create your content.
These tests can save you time and effort in the short run by allowing you to get everything right before producing your highly professional video presentation.
Common troubleshooting issues
Of course, recording custom-size videos doesn’t come without issues. Here are some of the most common troubleshooting issues and how to resolve them.
Blurry video output
Blurry videos are usually the result of low-resolution recordings. Check your settings to ensure you’re recording at an appropriate resolution. 1080p (1920 x 1080) is ideal for most outputs, but check before you begin to record.
No audio recorded
If your recording isn’t picking up audio, check that your microphone is connected to your device. If so, look at the audio settings and ensure the correct microphone is selected and mic permissions are enabled. If it still doesn’t work, test the microphone in another app to ensure it’s working.
Software lag or crashes
Ensure you’re using the most up-to-date version of your screen recording software to prevent lags and crashes. Close down any unnecessary background apps, and check your computer’s memory usage if necessary. If your processor is at max capacity, consider recording in lower resolution or upgrading your device’s memory.
Incorrect recording area is captured
Check you’ve selected the correct screen area before hitting “Record.” Some tools allow you to define the dimensions, so ensure these are correctly set. If you’re using a multi-monitor setup, check you’ve selected the right monitor.
Ready to record a custom-size video?
Recording custom-size areas of your screen has revolutionized video content creation for professionals, educators, and social users. By selecting specific areas of your screen, you can add more context and emphasis to your recorded content than ever before. Now, with the aid of this guide, you’ve achieved your goal of recording custom-size videos yourself, helping you create top-quality content that engages your audience.
With a plethora of free video recording tools available, beginning your journey to high-quality, custom-size video creation is closer than you think.
So, why not start your free trial of Dadan today to kick-start your journey toward high-class video creation and follow the simple steps outlined in this guide to help you take your recorded content to the next level.
Frequently Asked Questions
Can I record a custom-sized video on mobile devices?
Yes, iPhone users can use the built-in iPhone camera to record custom-size videos, while the Android screen recorder allows users to record a section of their screen.
Are there free tools available for custom-size recording?
Several free screen recording tools offer custom-sized screen recording. Gaming live-streamers favor OBS Studio, while Dadan’s free version also provides excellent custom-size video recording.
How do I share my recorded video?
Most screen recording tools allow you to export your video in MP4, MOV, and AVI formats. These are easy to upload to video-sharing sites like YouTube and Vimeo. Files can also be uploaded to cloud storage platforms like OneDrive and Dropbox for easy sharing.
Is it possible to edit the recording afterwards?
Yes, most screen recorders have some level of built-in editing capability. However, these are often limited to free software, and more extensive editing features are available with a paid subscription, such as Dadan.


